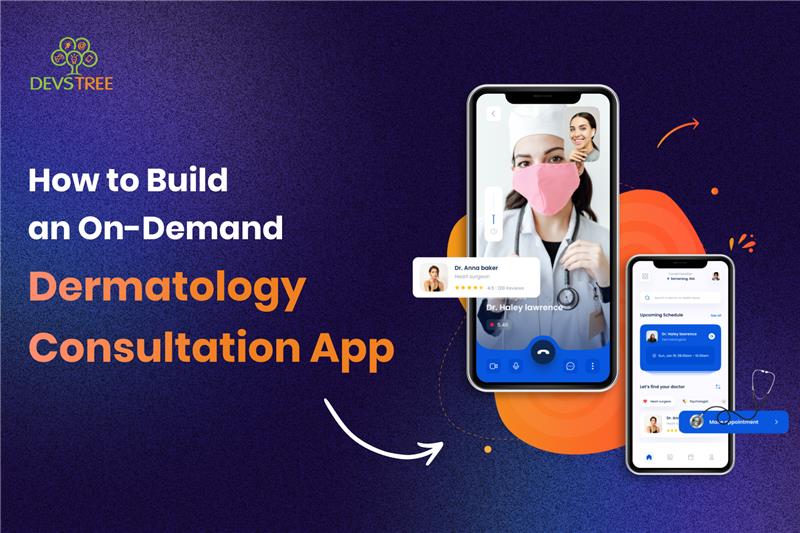
The rise of telehealth has transformed healthcare delivery, and dermatology is no exception. An on-demand dermatology consultation app connects patients with dermatologists via video calls, chat, or image uploads, offering convenience and accessibility. This blog outlines the key steps to create a mobile app for dermatology consultations, covering planning, technology stack, features, and compliance considerations. Partnering with a healthcare app development company can streamline the process, providing expertise in on-demand app development solutions.
Step 1: Define the App’s Scope and Features
Start by identifying the core functionalities of your app. Key features for an on-demand dermatology consultation app include:
User Registration and Profiles: Separate interfaces for patients and dermatologists, with secure login and profile management.
Appointment Scheduling: Allow patients to book real-time or scheduled consultations.
Video and Chat Consultations: Enable secure, high-quality video calls and real-time chat.
Image Upload and Analysis: Patients can upload skin condition images for dermatologist review.
Prescription Management: Dermatologists can issue e-prescriptions, integrated with pharmacies.
Payment Gateway: Secure payment processing for consultations.
Reviews and Ratings: Patients can rate dermatologists to build trust.
Notifications: Reminders for appointments and follow-ups via push notifications or email.
Step 2: Choose the Right Technology Stack
Selecting an appropriate tech stack ensures scalability, security, and performance. Here’s a recommended stack for on-demand app development solutions:
Frontend: React Native or Flutter for cross-platform mobile apps, ensuring a consistent user experience on iOS and Android.
Backend: Node.js with Express or Django for robust API development.
Database: PostgreSQL or MongoDB for storing user data, appointments, and medical records.
Real-Time Communication: WebRTC for video and chat, with libraries like Agora or Twilio for streamlined integration.
Cloud Hosting: AWS or Google Cloud for scalability and secure storage of sensitive data.
Image Processing: Integrate AI tools like TensorFlow or AWS Rekognition for preliminary skin condition analysis (optional).
Payment Integration: Stripe or PayPal for secure transactions.
Read More– How Much Does It Estimate to Cost to Build an MVP App in UK?
Step 3: Design the User Interface
A clean, intuitive UI is critical for user adoption when you create a mobile app. Use tools like Figma to design:
Patient Dashboard: Display upcoming appointments, consultation history, and image upload options.
Dermatologist Portal: Show patient queues, consultation schedules, and image review tools.
Mobile Responsiveness: Ensure the app is optimized for various screen sizes.
Focus on accessibility, such as high-contrast text and voice navigation for visually impaired users.
Step 4: Ensure Compliance with Healthcare Regulations
Healthcare apps must comply with strict regulations to protect patient data. A healthcare app development company can guide you through:
HIPAA (USA): Encrypt patient data in transit and at rest, and use secure authentication.
GDPR (EU): Obtain explicit user consent for data processing and provide data deletion options.
Medical Licensing: Verify dermatologists’ credentials and ensure they are licensed to practice in the patient’s region.
Use AWS HIPAA-compliant services or Google Cloud’s healthcare API to simplify compliance.
Step 5: Implement Security Measures
Security is paramount in healthcare apps. Implement:
End-to-End Encryption: For video calls, chats, and image uploads.
Secure Authentication: Use OAuth 2.0 or JWT for user authentication.
Data Anonymization: De-identify patient data for analytics.
Regular Audits: Conduct penetration testing and vulnerability assessments.
Step 6: Develop and Test the App
To create a mobile app, follow an agile development process and consider hiring skilled developers:
Prototyping: Build a minimum viable product (MVP) with core features like scheduling and video calls.
Development Team: Hire mobile app developers with experience in healthcare apps to ensure quality and compliance.
Testing: Perform unit, integration, and user acceptance testing. Test video call stability under varying network conditions.
Beta Testing: Launch a beta version to a small group of users for feedback.
Step 7: Launch and Market the App
After development, deploy the app to the App Store and Google Play. Promote it through:
SEO and Content Marketing: Publish blogs on skin care and telehealth benefits, optimized for keywords like “healthcare app development company” and “on-demand app development solutions.”
Social Media: Share success stories and patient testimonials.
Partnerships: Collaborate with dermatology clinics or skincare brands.
Step 8: Monitor and Update
Post-launch, monitor app performance using tools like Firebase Analytics. Regularly update the app to:
- Add new features, such as AI-driven skin analysis.
- Fix bugs and improve performance.
- Stay compliant with evolving regulations.
Conclusion
Building an on-demand dermatology consultation app requires careful planning, a robust tech stack, and strict adherence to healthcare regulations. By partnering with a healthcare app development company and leveraging on-demand app development solutions, you can create a mobile app that bridges the gap between patients and dermatologists. Hire Mobile App Developers with expertise in telehealth to ensure a seamless user experience and compliance. Start with an MVP, iterate based on user feedback, and use modern technologies to deliver a valuable telehealth solution.
Ready to start? Begin by sketching your app’s features and contacting a trusted development team today!

